Taking Photos While You Work

We've settled on a few key components that make a good HowTune article:
First, a picture of all the materials you'll need can be very useful. Here are a few examples.

You may also want to take this shot at the end, once you've figured out every tool you'll need. Oh, and about the annotations - those were all added on the site creating your article. You'll be able to add those once you start composing your article.
Next, establishing shots of the area you'll be working in can be great. It might be obvious for an expert, but How-to articles that simply jump right into the part or detail at hand mean a less-experienced reader has to spend a lot of guesswork trying to locate the area. Here's an example of an image I took about removing my alternator:
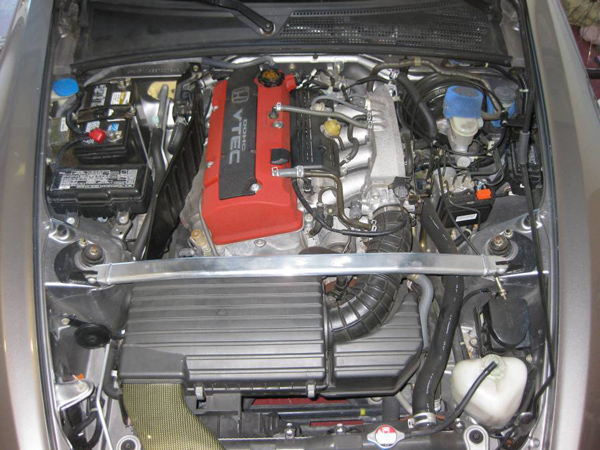
This makes it clear where it's located. Imagine if I had started my article with the image below. You might have an idea where this is, but if you don't then the article isn't as clear as it could be.

Where is this part? Without context it can be difficult to determine.

Now you can get on with the show. Take your time and take as many photos as you can. It's always better to have too many then not enough. It's helpful to get clear photos showing the part, section, bolt or thing you're interacting with. You'll be able to annotate these photos later on HowTune, so you'll be able to get really specific pointing out various details.
If you're working in a dark area a workshop light can help you get a clear photo.
Take photos of the various wrenches or tools you're using. Not for the article, but as a reminder of the sizes needed (i.e. 8mm, 3/16", etc). Then you'll have a reference when you go to complete the article.